Caidaongtong
I'm not sure which method you're trying to use, but assuming you want to create a new reference material from scratch, here are a few more instructions and screenshots to help illustrate the process.
Starting from my previous screen capture, if you were to click "Blank" in the menu you'll be prompted for a name:
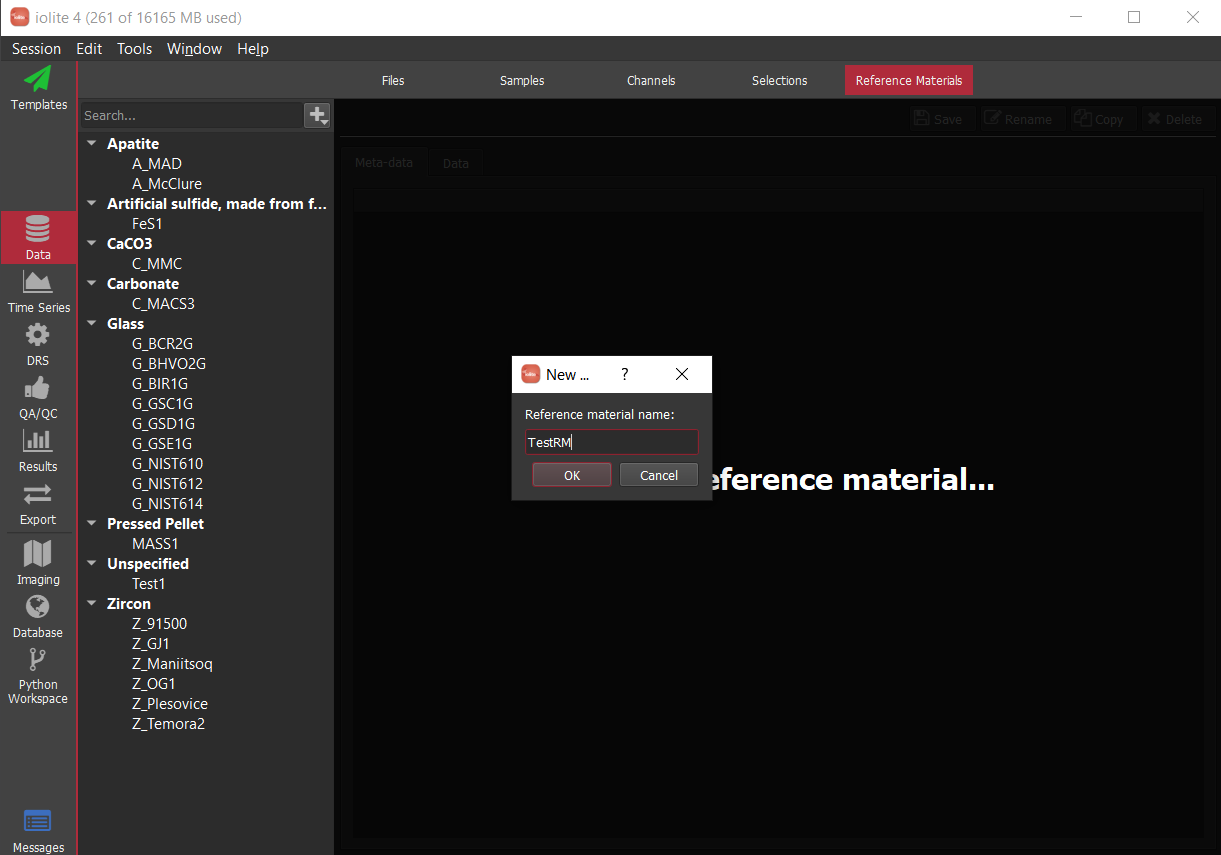
In that box, enter whatever you want to call the reference material, but make sure it is something unique. Now you can click on that name in the tree:
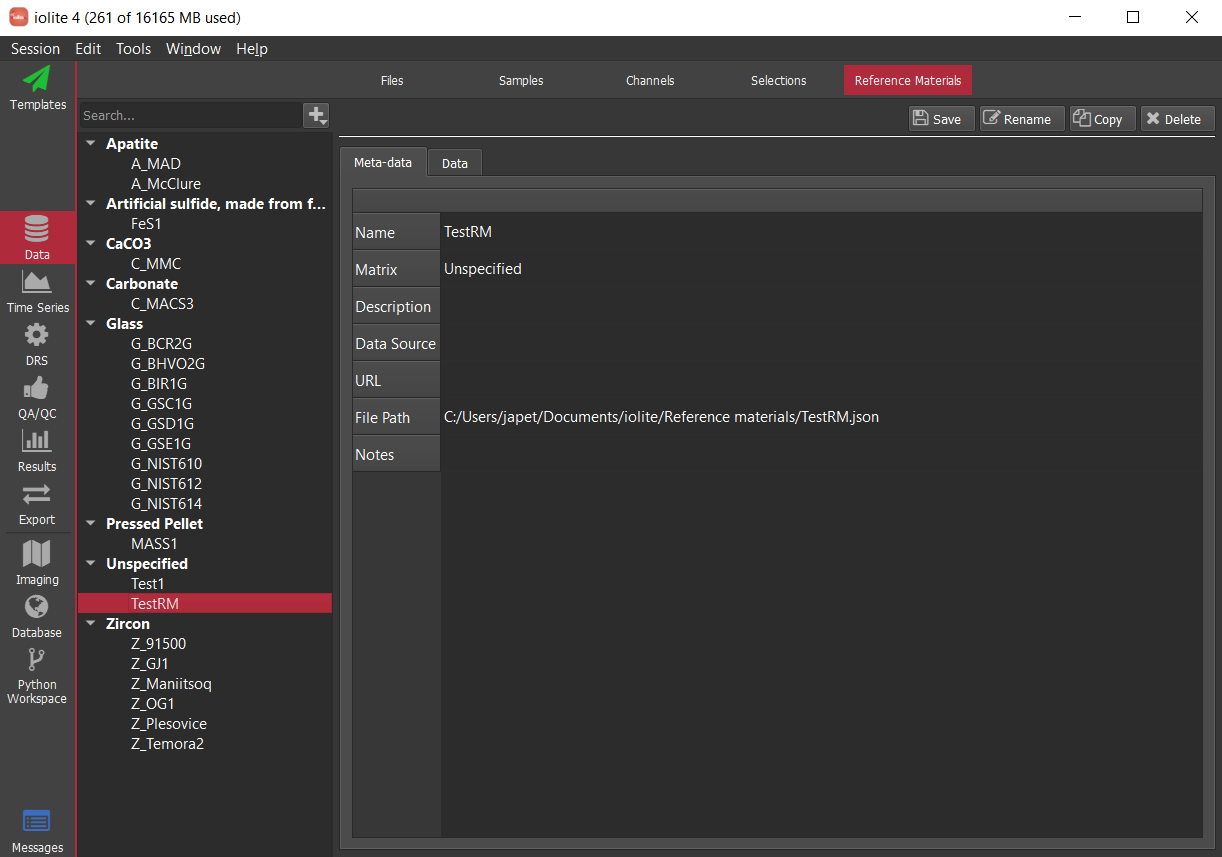
To begin, almost all of the metadata is blank. If you want to keep track of where the values come from etc. you could enter those details here by double-clicking in each field and editing it:
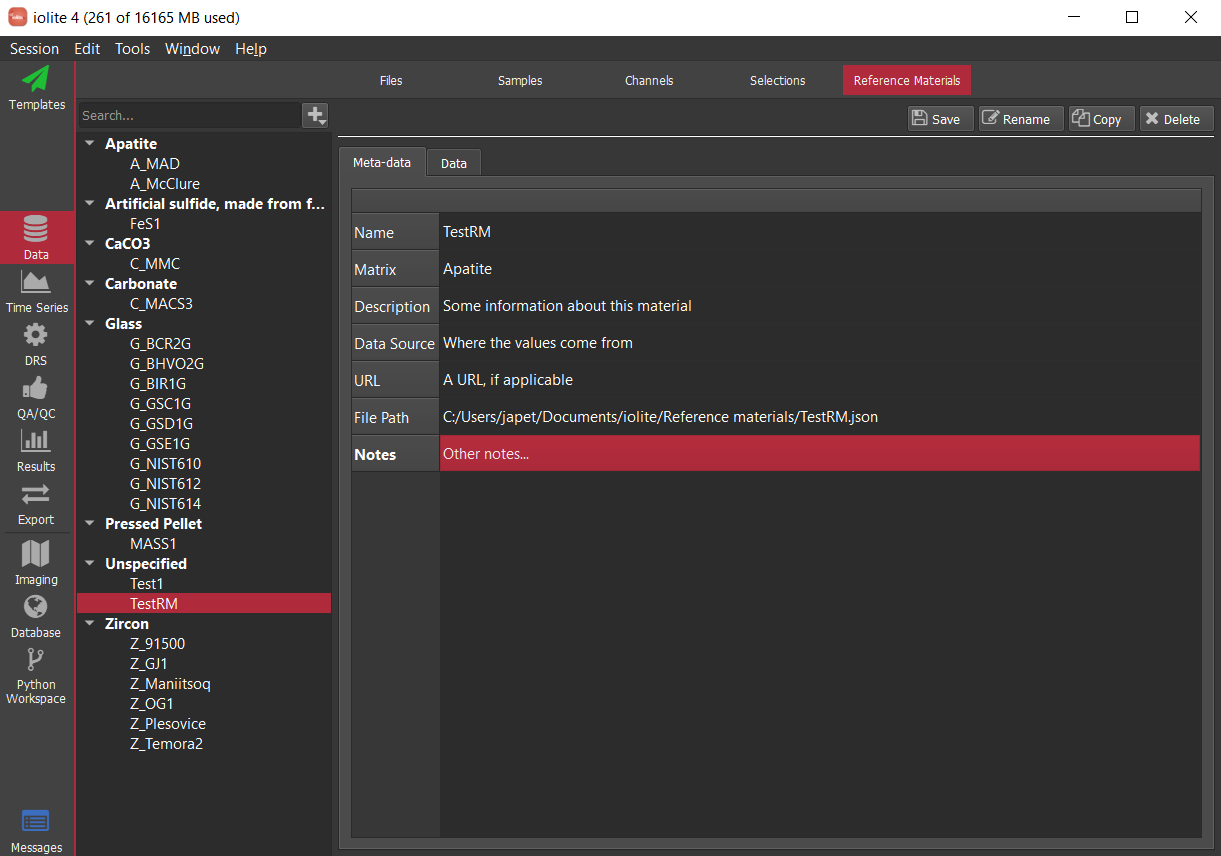
Once you're happy with the meta data, you can click on the "Data" tab above the table:
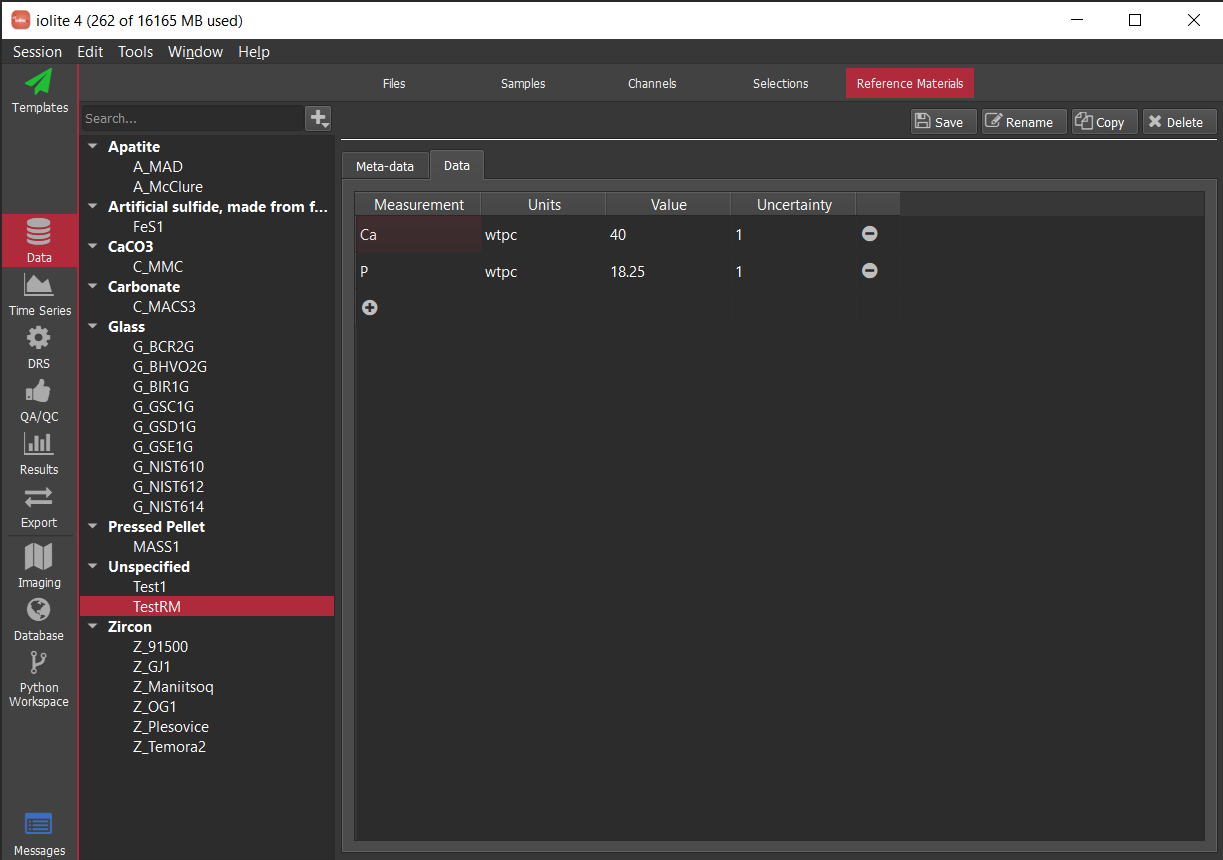
Initially the table will be empty. To add measurements, click the "+" button in the table and double click in the various parts of the table to edit the measurement's units, value and uncertainty. When you first start editing the data, you will likely see a dialog as shown below:
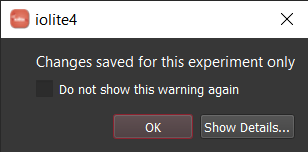
This is just telling you that the changes you're making right now are not saved to disk automatically and will only be used for this session (or until the RM data are reloaded from disk). To make it permanent, you can click the "Save" button in the top right area. When you do so, you'll be prompted as shown below:
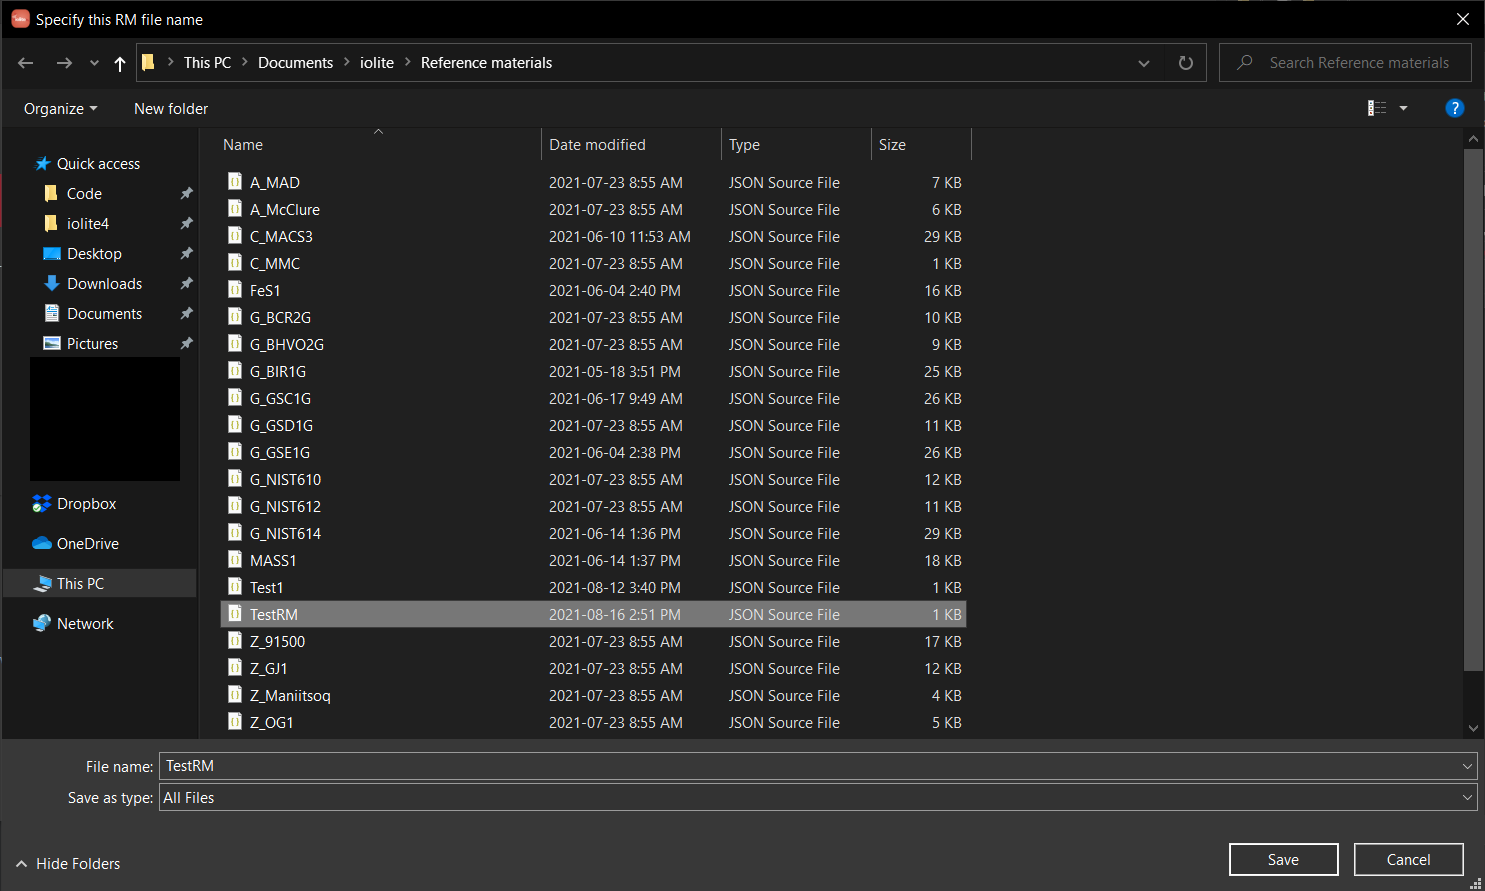
Just be careful to select and overwrite the correct file (in my case and as shown in the image, I've selected "TestRM" to match the name I specified earlier).
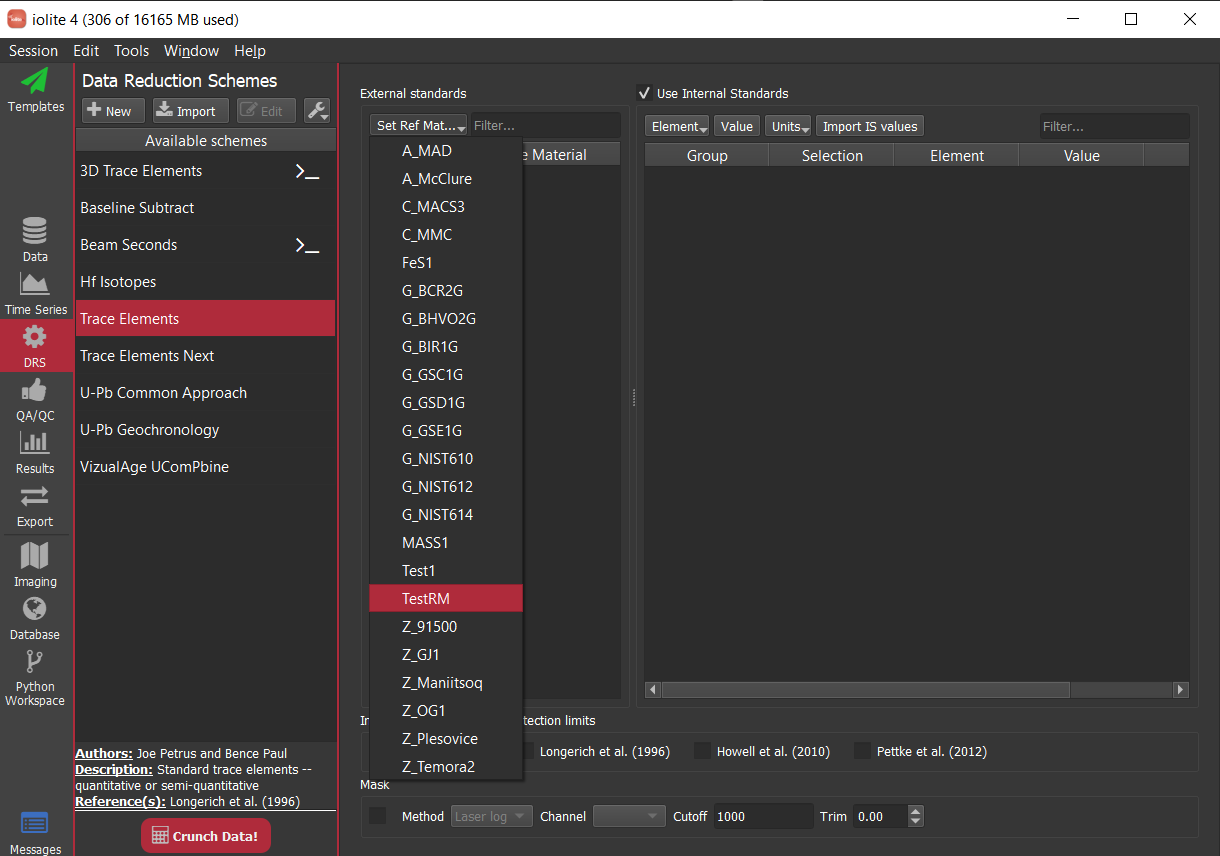
At this point, you should be able to select this new reference material in any parts of the user interface that allow you to select one. For example, here is our new RM in the trace elements DRS external reference material menu:
Hope that helps! Let us know if you have any more questions about this or anything else.
All the best,